by gabry | May 9, 2012 | Building Activities
I got the idea for today’s craft from a beautiful blog called Mer Mag and more specifically from this post, in which she created a train for her kids using tea boxes and colored duct tape. I thought it would be fun to recreate her idea in the spirit of Print-cut-paste-craft.com and create some templates for you to just print, cut and paste on your tea boxes. Here is the result!

Tea Box Circus Train

Tea Box Circus Train 2
For the train in the pictures I have just printed the colored templates ( you can download them for free here), cut them and used colored brads for the wheels. If you want I also uploaded the black and white templates (here) so you can let your little one color his/her own train before cutting and pasting. It is really easy and it is a great way to reuse those tea boxes you might have in your pantry, my son loves filling the boxes up with all his little toys and have them go for a ride, but you can use them also to organize a child’s crayons and other art supplies or as little gift boxes for a themed party. I would love to hear from you how you used them!
Enjoy!
Gabry

by paola | May 8, 2012 | Building Activities, Origami Box

This little origami box, about 2×2 inches, is a sweet way to tell your mom you love her. I put some little chocolate truffles in it, it is the perfect size for a small present and making it instead of buying it makes it feel more like when I was in school and would come home with my mother’s day craft!


Find here the instructions on how to make an origami box, and download here the printable template for this lovely box for free! Chocolate and daughterly love are not included!Remember, it is for your personal use only.
Have fun!
Paola

by gabry | May 3, 2012 | Coloring Activities, Learning Activities
I love cute little robots, I like drawing them and imagining what they could do, so I am trying to get my son to love them too of course. I made these little ones out of paper, but I recommend using cardstock instead. They are made of a few, easy to cut, parts and held together by little brads. I happened to have brads at home because of a previous scrapbooking project. You can find colorful ones in any scrapbooking/hobby store and they really add to the look of your robots.

Two of my cute little paper robots

Another pair of cute little paper robots
These are just four of many combinations you can create whit the parts that I designed!
All you need to create your own cute little paper robots is a printer,some cardstock, scissors and brads.
I have created two templates for you: one in black and white ( download the pdf here) so you can let your kid color it anyway he likes and one pre-colored ( download the pdf here) in case you want to skip the coloring.
If you do create your own robots please post a comment below! And don’t forget to send us a picture of your little creations at info@print-cut-paste-craft.com, we’ll make sure to post it!
Enjoy!
Gabry

by gabry | May 2, 2012 | Coloring Activities
Here is a coloring page full of cute and friendly robots.

Preview of the Cute Robots Coloring Page
Get the free printable pdf here. Only for personal and not for commercial use.
Enjoy!
Gabry

by paola | Apr 28, 2012 | Birthday, Building Activities, Origami Box

A friend of mine is about to celebrate his birthday. He’s a young engineer and he has basically two obsessions: becoming a pilot and…ice cream!
Me and my friends decided to organize an ice cream tasting in the best “gelateria” in town, and my job was to create a fun invitation to let everybody know about the party. My idea was to put the invitation inside a small candy box. What about an air mail style origami box?
Here it is!

This box is composed by 9 printable items:
- The top
- the bottom
- 2 big ribbons
- 2 small ribbons
- 2 inside masks
- 1 card
The inside masks are two paper squares designed to decorate the inside of the box. Check the next pic to see how nice they look.

The box size is about 7 x 7 x 3.5 cm (2.8 x 2.8 x 1.4 inches).
Making it was very easy.
You can find a quick tutorial to make an origami box here (youtube link), and the free pdf printable artwork here (private use only, not for commercial use.)
Have fun!
Paola

by gabry | Apr 27, 2012 | Coloring Activities
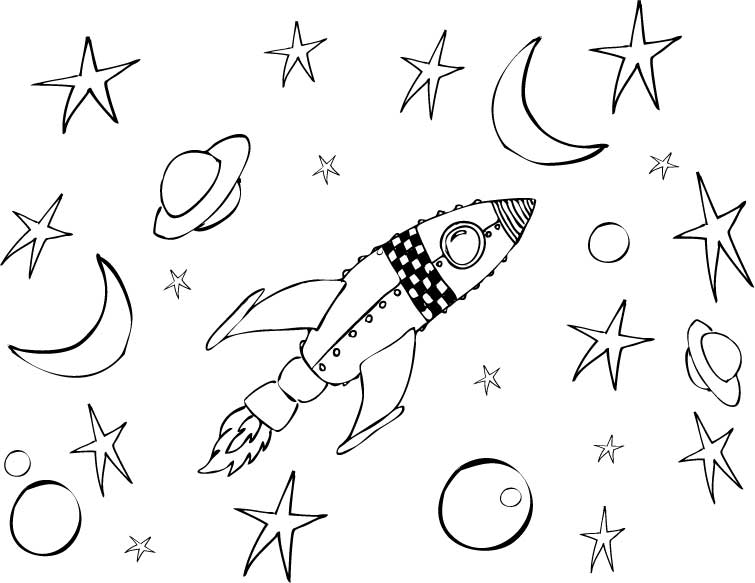
My son is obsessed with rockets and space right now, so I decided to create a craft that we could do together.
He has always enjoyed coloring but lately we have started to practice his pasting skills and he just loves playing with stickers and glue. Buying stickers is fun but it can be expensive and it is not as creative as making your own stuff together. The first project we made together I did it on the fly and just used some construction paper we had in the house.

I liked the idea but I wanted more elements and as soon as we had some time I drew all my space scene elements on a paper asking him what he would like to put in his space scene and had my son color them with me.

Then I proceeded to cut them (if your kid is already using scissors you can let him/her do the larger elements in the picture while you do the most detailed ones) and he had fun pasting them wherever he wanted.

Later, I have been sketching on the space “theme” and I came up with some nice rocket coloring page (downloadable here as a pdf, for private use only, not for commercial use.)


